Face Shield Manufacturing

Downloads for Bull Shield Project
Full Plans and Laser Cutter Files:
Support Our Project – Help us buy Materials
https://giving.usf.edu/online/gift/f/220106/

Should you make PPE
The question of whether or not you should make PPE (Personal Protective Equipment) seems obvious at first glance but surprisingly, it’s not always yes. There is an unfortunate effect of everyone trying to perform small, uncoordinated efforts which can actually reduce the availability of resources to manufacture PPE, decrease the sterility or reliability of these items, and ultimately reduce the availability of PPE for front-line medical professionals. It is strongly recommend that you coordinate with your local community and find or organize a unified effort with strict cleanliness and sterility standards. Check with your local hospitals and medical offices to determine if there is a need for the specific items you are hoping to make. There’s nothing worse than 10,000 spoons when all you need is a knife. 8^)
Supplies and Setup
Critical: Scissors, stapler, ruler/tape measure, utility razor, raw materials*, gloves for packing, and gloves for volunteers to perform assembly.
Desired: Guillotine style paper trimmer, laser cutter, electric stapler, heat sealer.
Raw Materials: Besides the Plastic Film, Foam, and Elastic bands, you will need ample supplies of Staples, possibly double-stick tape if you plan on purchasing non-adhesive backed foam, and packaging bags. Consider tissue paper as well for easier transport and cleanliness.
Cleanliness – Wear gloves and find an area you can keep
segregated and kept clean. All volunteers should wash hands before entering work area, never touch body or face. Where possible, use IR thermometer. Area can be sanitized with 10% bleach solution prior to each production run. The shields don’t need to be sterile, but good manufacturing practices are important. We recommend using the first off the production line as PPE for the volunteers or assemblers.
Procurement – Rather than immediately jumping into purchase
extreme quantities of material, consider buying a “test” amount of
material to test the process and ensure that you care capable of running the
assembly to completion. Again, we do not want to deplete the limited supply of these precursors for groups who are actively manufacturing. Additionally, there are sometimes incompatible parts that you can come across. A case study was a near miss when we were order plastic film when we nearly ordered 500 sheets of frosted rather than clear film. This would have been a costly mistake.
Pre-Staging
Material Acquisition can be the most frustrating part of the whole process. Film/foam, and elastic can be found at Art Stores, bulk suppliers like U-Line, Grainger, and McMaster Carr, local Bricks-and-Mortar stores such as JoAnn Fabric, or online retailers such as Amazon. Supplies are beginning to get hard to find so it may be wise to contact local elastic/film/foam manufacturing companies and work directly with them if you can order a sufficient bulk quantity. Bear in mind that lead times can be as much as multiple weeks. The prudent thing is to avoid having an asymmetrical supply (a massive surplus of one item and none of another). This is effectively the same thing as toilet paper hoarding and results in fewer people being able to manufacture these critical supplies!
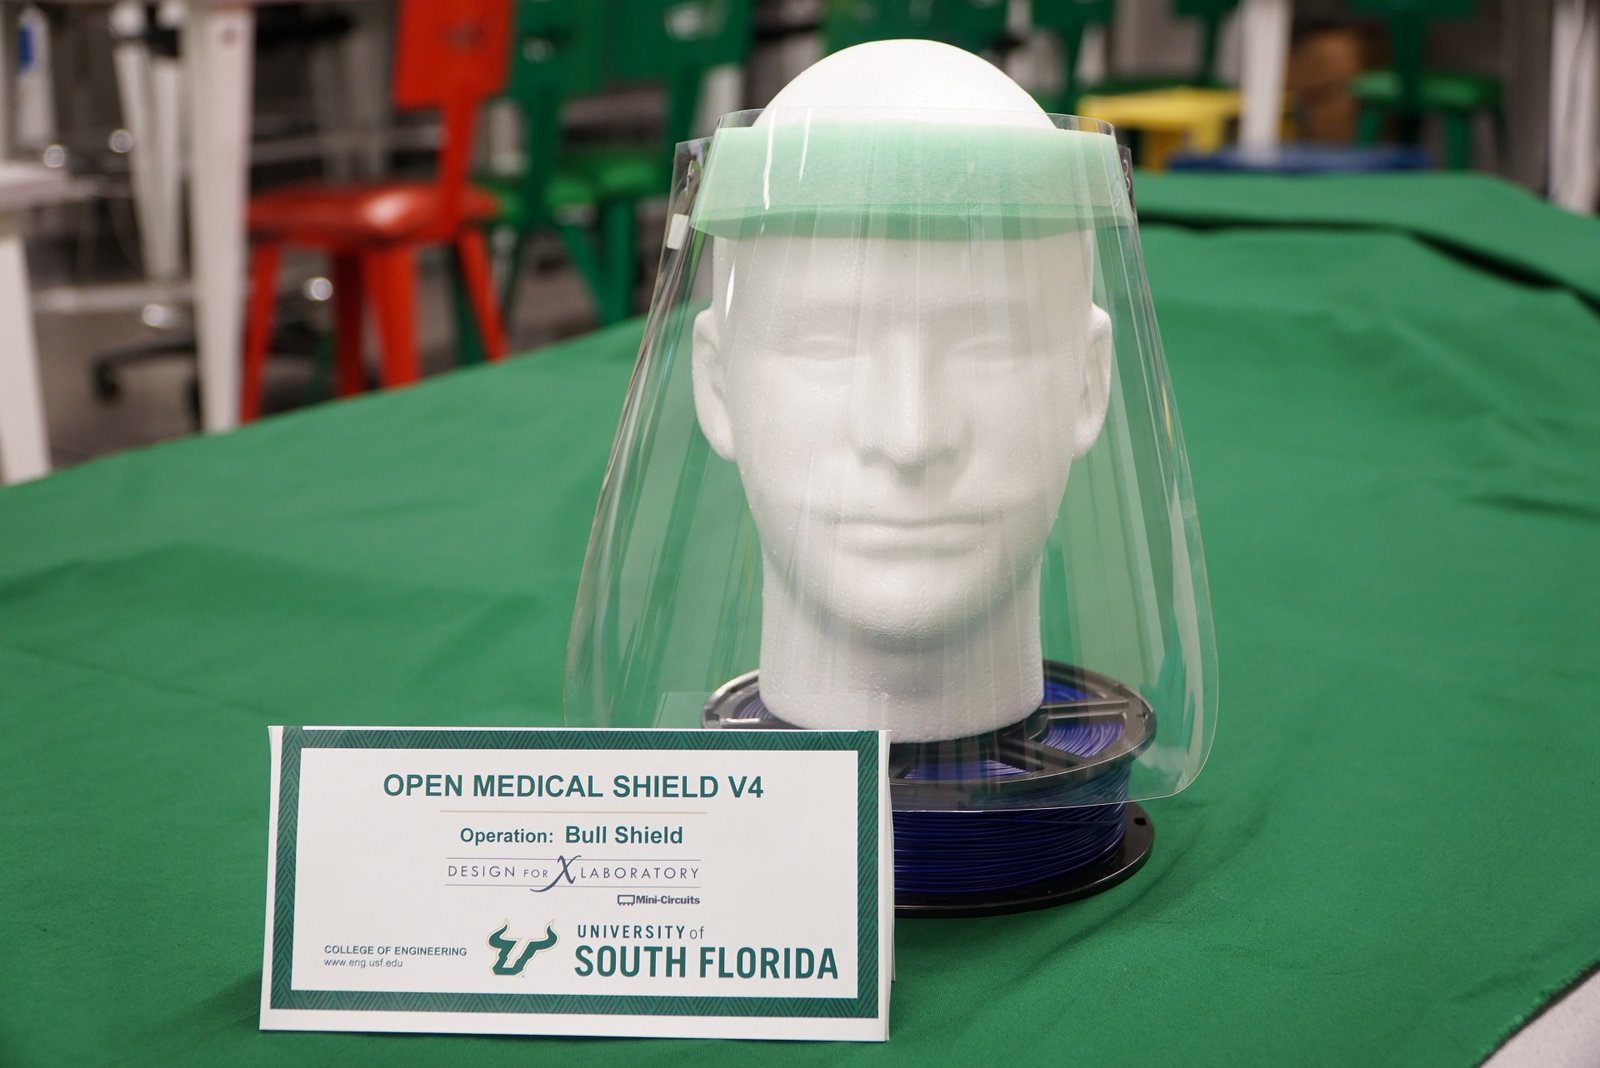
CLEAR SHIELD
MATERIAL: CLEAR POLYETHYLENE (PET) FILM (0.007″ THICK)
It is typically sold in either sheet or roll form. Sheet can be nice as a common size found in art stores is 9×12″ which is very close to the desired dimensions of 12.0×9.6″ (in our case optimized for our roll dimensions). Film as thin as 0.005″ can work but 0.007″-0.010″ is much more stable and durable. Film can be as thick as 0.020″ but this begins to get hard to work with. The goal is to make disposable units so striking a balance between plastic waste and durability is important. If you are working with a plastic film manufacturer, they can cut a roll into sheets that are sized optimally for your process. Talk to them for best results.

ELASTIC HEADBAND
MATERIAL: ELASTIC LATEX FABRIC (0.75-1″ WIDE X 13-16″ LONG)
Again, local or online stores listed above can be great places to search. Bear in mind that sometimes, you can purchase 1.5 or 2″ wide elastic bands and cut them lengthwise into two smaller bands. The success of this varies depending on the type of weaving and it should be noted that this is a VERY slow process. We found 3/4″ wide band to be optimal and a shorter band can be used provided it is double stapled for stability. Our current production uses 13.25″ long bands.
Use a jig or set length template to quickly cut from a roll to a pile. It is best to create a large stockpile of these pre-cut bands as they are very quick to produce. Fill up a bin or box and label with the length and quantity completed.

BROW FOAM
MATERIAL: ADHESIVE BACKED or CUSHION POLYURETHANE FOAM (1″ THICK)
To reduce cost, you can purchase permanent double stick tape and get traditional 1″ thick foam (the high-density, upholstery-type, polyurethane foam). We found that most come in 24″ wide pieces which can be cut equally into 3 strips of 8″ wide. From here, we can use either scissors, a razor knife, or a paper trimmer (guillotine style) to make quick work of producing 1.25-1.5″ wide blocks. Alternatively, you can procure adhesive-backed foam. We found that the adhesive sometimes gums up the cutting implements and the cleaning slows the process. Paper backed double stick tape can be torn by hand which increases throughput.

Final Assembly
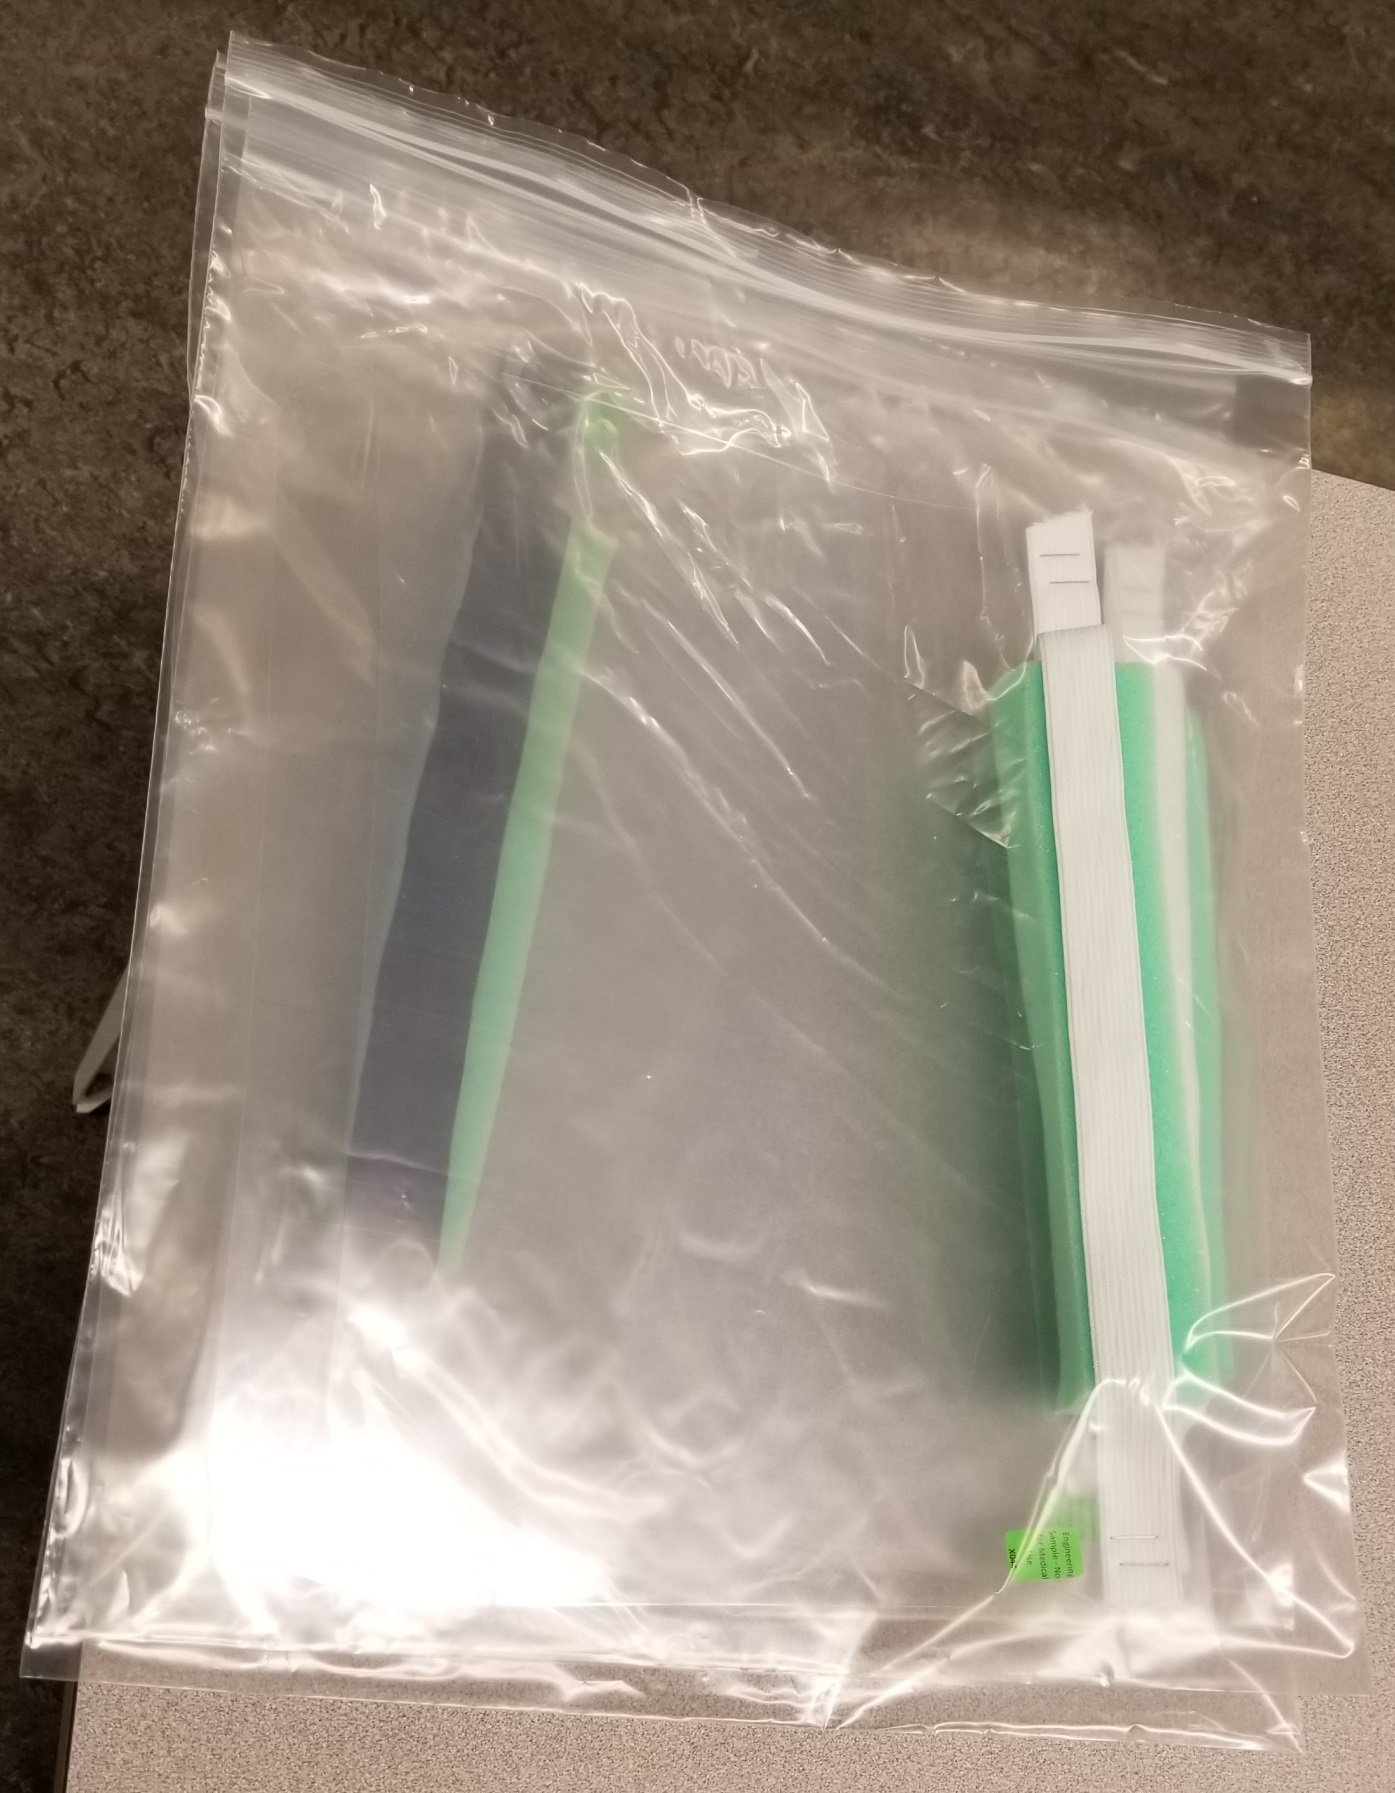
After neatly arranging all materials into stacks, the first assembler should adhere the foam to the center top of the shield film. The next assembler should be in charge of stapling the elastic bands. To reduce fatigue, it is recommended to get a heavy-duty automatic stapler (The Bostitch Impulse 45 using B8 staples is good choice). The final assembler will collect sets of 10, perform quality assurance, affix serial numbers (if desired for Quality Assurance and tracking), bag into sealed poly mailer, and stack into shipping boxes. Bag in 15×19” Self-Sealing Poly mailer bags available from U-Line or Amazon. You can use a t-shirt folding device to accelerate the packing process. Remember that process optimization is something that needs to be done continuously. Saving a few seconds on a process where you make thousands of items can save a considerable amount of time. (see video above for details)

Pictures of our Process Line


Detailed Process Flow
Line 1: Clear Film
- Manual
- Volunteer puts on Kevlar cut-resistant gloves over Nitrile gloves
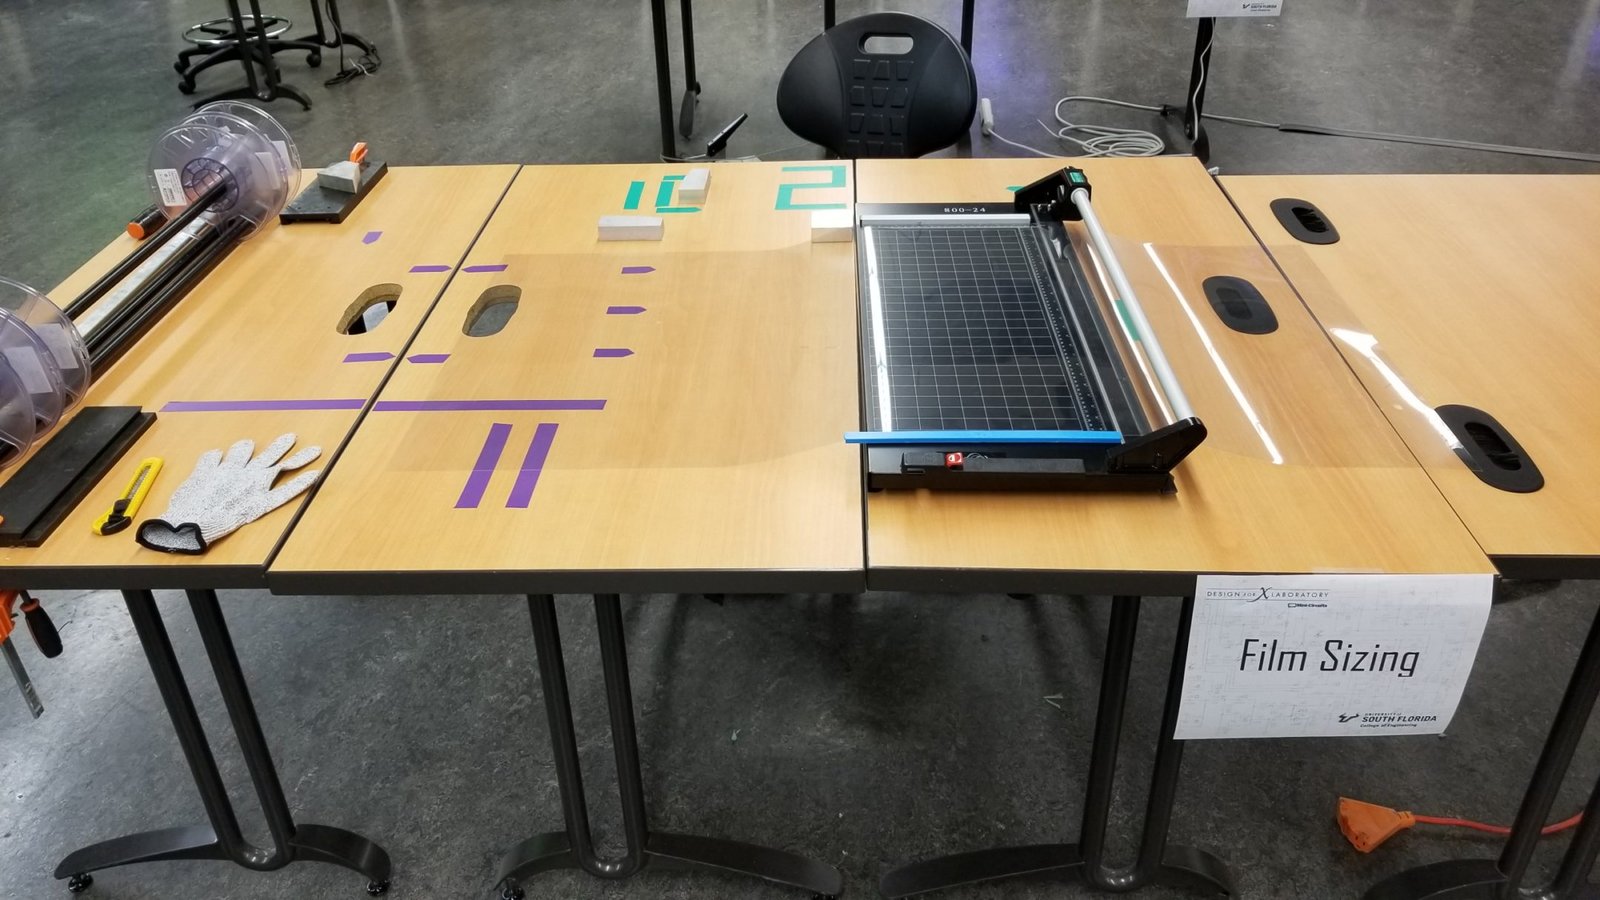
- Roll out Plastic Film and cut using Poster trimmer to appropriate size
- Have a volunteer manually cut with scissors or hobby knife the final curved shape
- Stack with Tissue paper separating sheets in bin or box and label with final number and volunteer number
- Alternative Manufacture Method – Laser cut final Design
- Volunteer puts on Kevlar cut-resistant gloves over Nitrile gloves
- Roll out Plastic Film and cut using Poster trimmer to laser cutter size
- Film weights are added and Laser cutter program is used to cut parts to final shape
- Stack with Tissue paper separating sheets in bin or box and label with final number and volunteer number
Line 2: Foam Process
- Foam Sheet Processing
- Unroll foam from storage area onto a quad table setup
- Volunteer puts on Kevlar cut-resistant gloves over Nitrile gloves
- Put a UHMW (Ultra High Molecular Weight) cutting board down over area to cut
- Use template or razor jig to cut Foam into 1.25 x 8” pieces (optimized for 24” wide roll)
- Place Foam parts into Storage bin and affix final number and volunteer number
Line 3: Elastic Bands
- Cutting Elastic Bands
- Obtain either ¾” or 1” Elastic band roll from storage area and place into rolling jig
- Volunteer puts on Kevlar cut-resistant gloves over Nitrile gloves
- A pair of scissors is used to cut predetermined 13.75” strips and place directly into a bin just below work area. The length is given by a fixed bar with markings and a slot to safely cut the requisite length while protecting fingers.
- Affix final number of parts on bin including volunteer number
Notes on Lines 1-3. These can be completed asynchronously to the final assembly step. If you have 3 volunteers, you can run everyone on Lines 1-3 in a morning session and finish processing your material stock and then run them distributed as described below in Line 4.
Line 4: Final Assembly
- Affix double stick tape to center, and staple areas of clear plastic sheet
- (Optional if tape doesn’t hold) Staple Foam part at left and right approximately 1cm in from edge of foam, foam should be even with top of plastic film
- Double staple band approx. 1cm from edge of plastic sheet using heavy duty staples. An automatic/electric stapler can be used for this to reduce fatigue. Be sure these go through the double stick tape located in this area as well as it helps resist staple tearout.
- Check Strength of Finished Part by tugging gently at staples and ensure foam does not dislodge
- Apply QA serial number sticker
- Load into bags in quantity of 10 and seal
A note for local Tampa medical institutions :
While we absolutely would love to be able to help everyone, we are bound by a special tie with USF Health and Tampa General Hospital (TGH). We are working to ramp production to the point of surplus at which point TGH will begin the distribution of extra units to the local medical community. We know this may be disappointing to some so we have released this guide for institutions which simply need limited numbers of these items and can benefit from making them in-house.

The guideline here is a derivative of the Open Source Face Shield v3 as posted from the UW Makerspace from the University of Wisconsin – Madison. It is again here presented as a project under a Creative Commons, copy/publish, Attribution Required, NO commercial use, Modify Adapt license. Please use this to help yourself during these difficult times. No warranty is provided with these plans and USF, the College of Engineering, and myself are held harmless in the event of damages. This face shield design and specifications are being provided as a free service to the community during this public health emergency. This face shield is not intended to prevent specific diseases or infections. Individuals or organizations that manufacture face shields utilizing the design and specifications are responsible for any federal or state regulatory requirements that apply to the manufacture of face shields intended for medical use, and are responsible for informing health care providers to which the masks are supplied that they are responsible for decisions regarding appropriate personal protective equipment for their personnel. Individuals and organizations are free to use, copy and share this design and specifications, including for commercial manufacture, without payment of any fees or charges, but may not assert ownership in the design and specifications, ownership of which belongs to the Board of Regents of the University of South Florida and/or the individuals who created the design. EXCEPT WHERE SPECIFICALLY PROHIBITED BY LAW, NO WARRANTIES OF ANY KIND ARE OFFERED FOR THE FACE SHIELD DESIGN AND SPECIFICATIONS, INCLUDING WARRANTIES OF NON-INFRINGEMENT AND FITNESS FOR A PARTICULAR PURPOSE.